Hey folks, Welcome back. Today we'll look into How to implement dark mode in ReactJS with the TailwindCSS and how you can set up react app much faster with ViteJS.
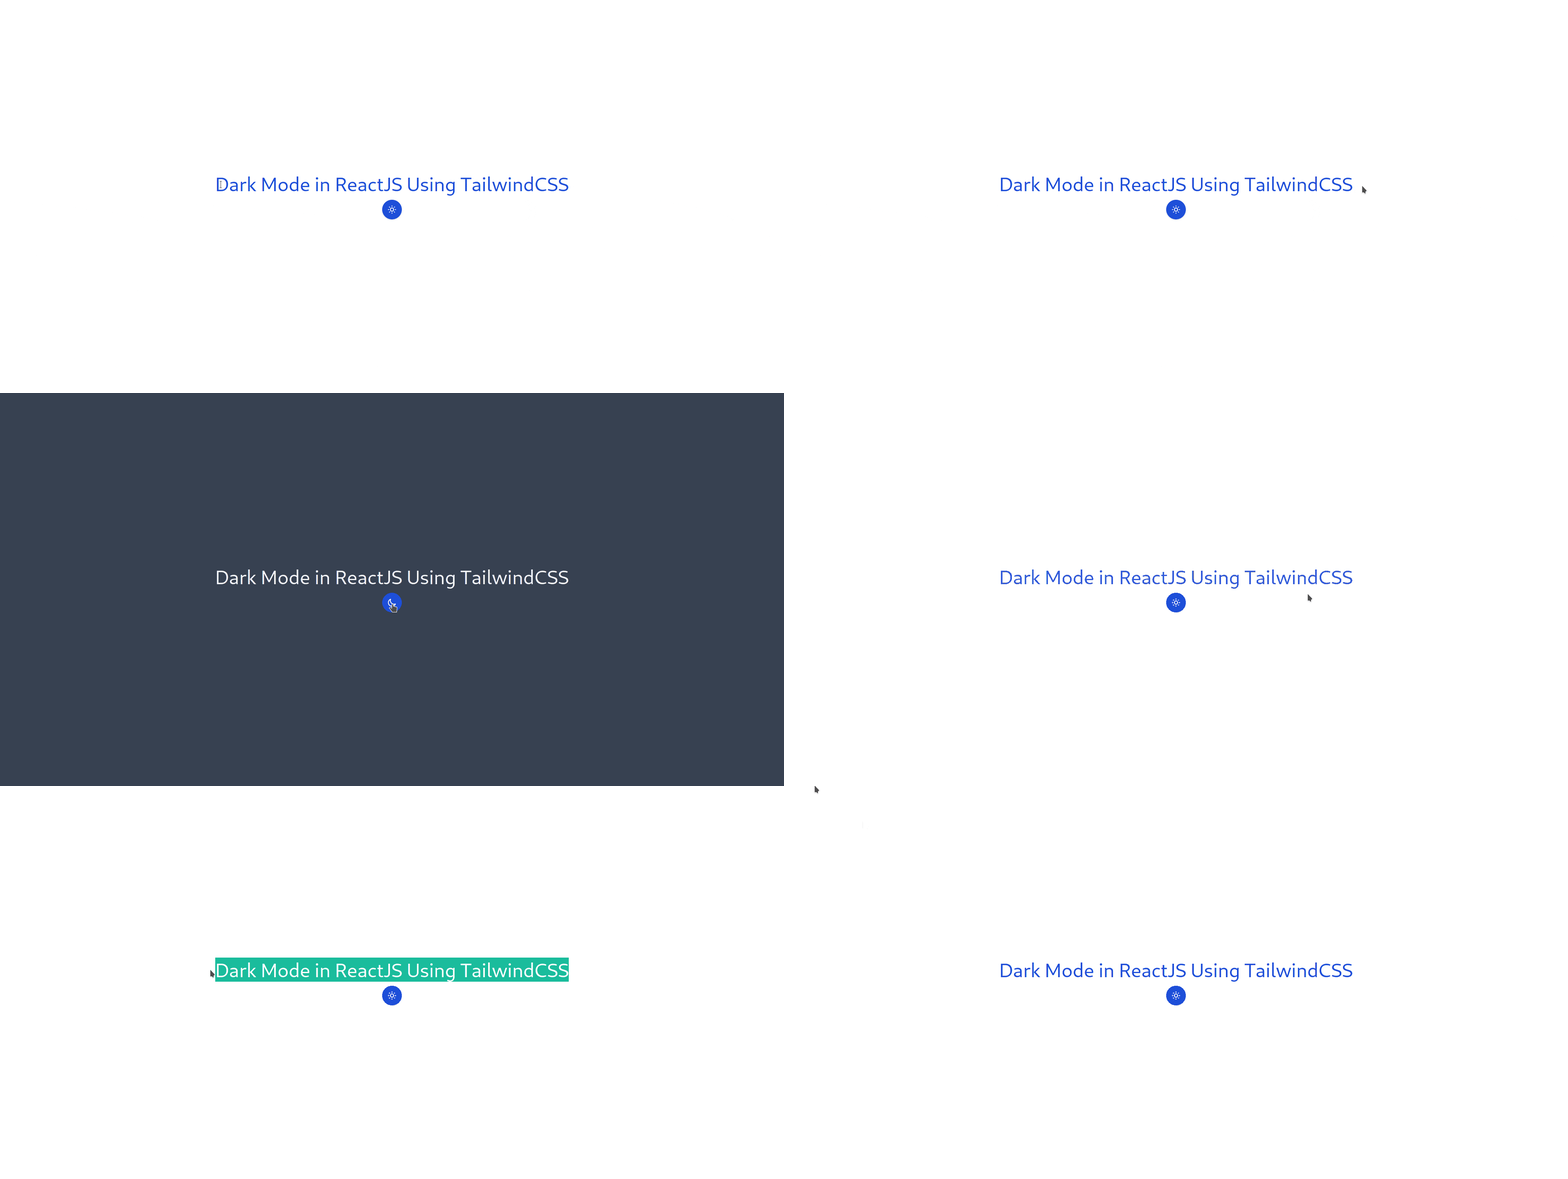
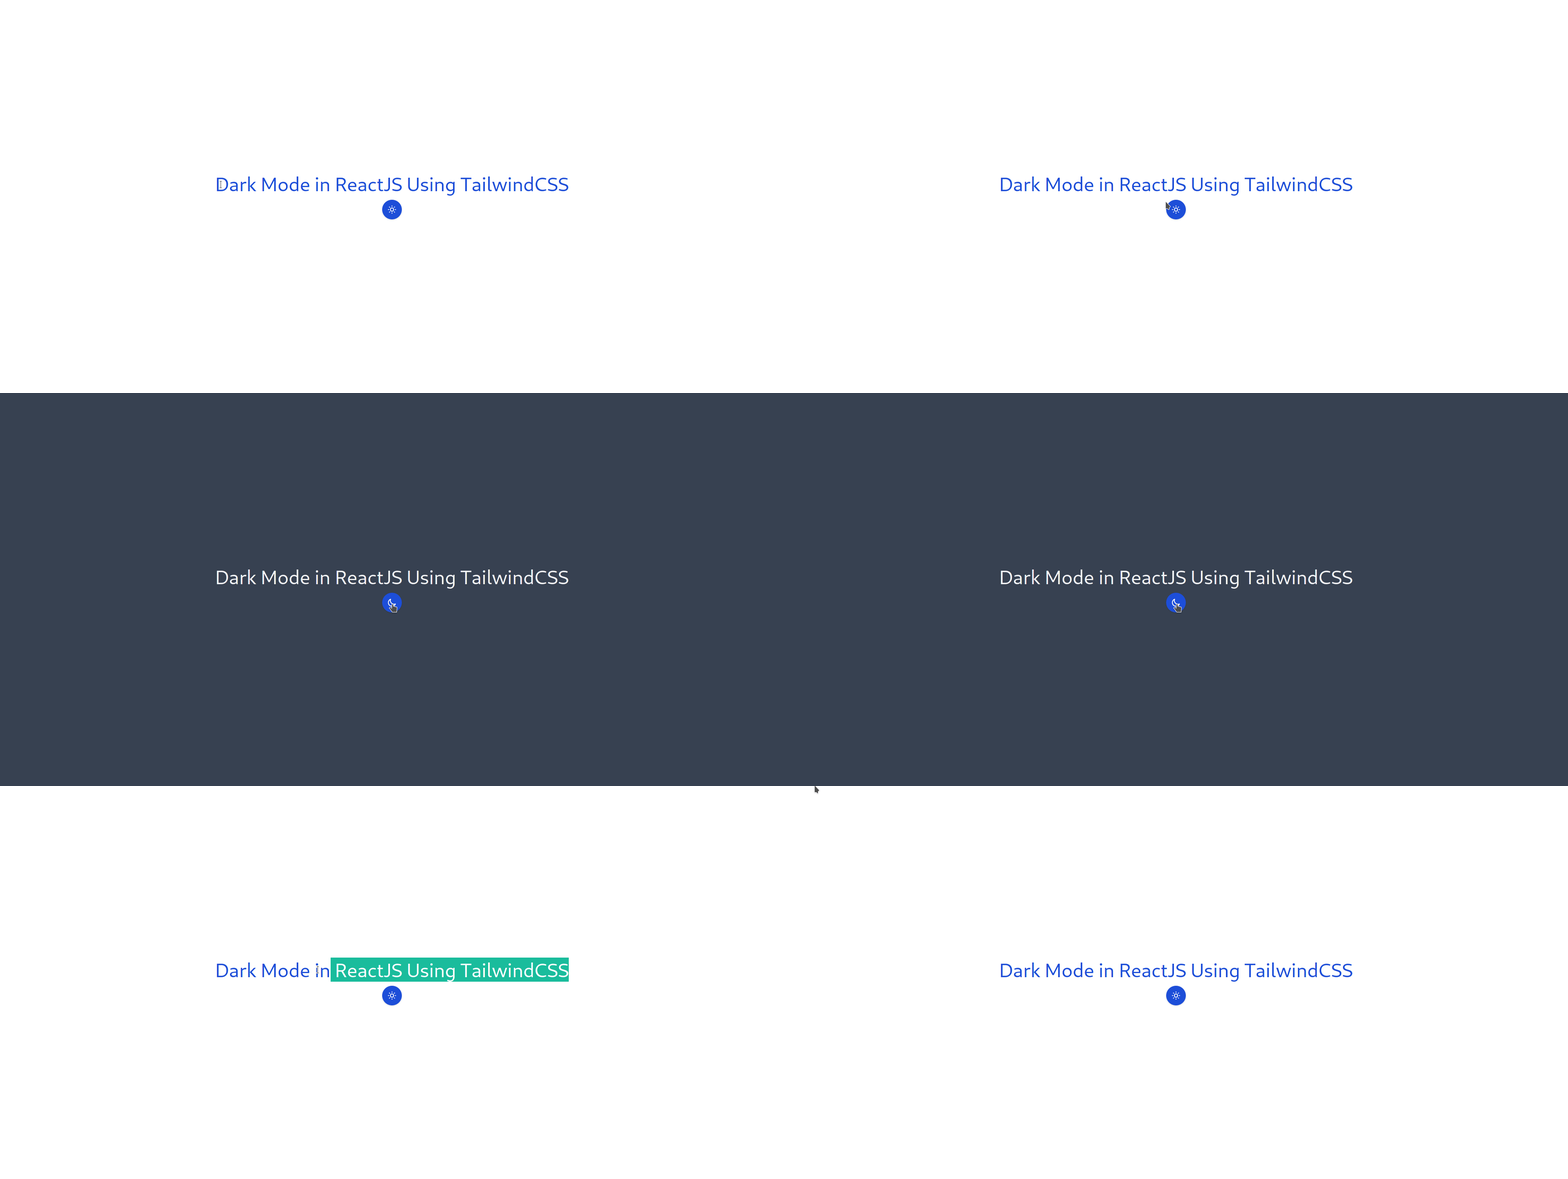
This is what the final product looks like,

My goal with this project was two things,
- Testing out ViteJS and Find if it's faster than Create-React-App.
- Making dark mode in react.
Testing ViteJS
Recently, I was suggested ViteJS by my friend and was told that it takes very little time than CRA(create-react-app). So I was very excited to try it out. The next step was to watch an introductory video. I reached out to him again. However, he suggested I go through the docs and do the steps mentioned, and he said they are straightforward.
I went through them, and it literally took me 3 commands to run the Vite project. The first one is to install, next is to choose what framework you want to work on. After that, you do npm install and npm run dev. Voila, it was running on localhost.

Results of ViteJS testing
The above step was much easier than expected, so I got a boost. I decided I'll make a dark theme toggle in react right now. I decided to go with tailwind because I am still learning tailwind and it keeps my design uniform if I go multi-page application.
Tailwind in Vite configuration
So next step was to install tailwind in the Vite project, so from my past experience of watching thirus video, I referred to tailwind docs of getting started with CRA (there is no getting started page for vite, even though tailwind is vite official sponsor 😢)
So I set up tailwindcss using this guide and this video. The next step was to start working on dark mode.
Setting Up the Dark Mode
There are two methods to enable dark mode as per the tailwind documentation. There are two methods to enable dark mode. The first one is to set the darkMode option in your tailwind.config.js file to media:
// tailwind.config.js
module.exports = {
  darkMode: 'media',
  // ...
}
Now, whenever dark mode is enabled on the user’s operating system,
dark:{class}classes will take precedence over unprefixed classes.
The second method is used when you want to toggle between the methods manually. As the documentation says,
If you want to support toggling dark mode manually instead of relying on the operating system preference, use the
classstrategy instead of themediastrategy:
// tailwind.config.js
module.exports = {
  darkMode: 'class',
  // ...
}
I used the second method because I wanted to create a toggle between two modes.
How dark mode is getting toggled
Lets look at the code to understand what exactly is going on,
const [dark, setDark] = useState(false);

useEffect(() => {
    const root = window.document.documentElement;
    if (dark) {
      return root.classList.add("dark");
    }
    root.classList.remove("dark");
}, [dark]);
In the above code, two main things are going on: using two react hooks, useState, and useEffect. In the first line, using the useState hook, we make a dark variable and give it a default value of false.
The useEffect hook runs whenever the component mounts or component updates. In other words, it loads whenever the page loads or page updates. In our case, whenever the page loads, using this line const root = window. document.documentElement; we are choosing whole document(page). And then we are checking if dark mode is on or off. If it's on, we are adding the dark class to the root element. It gives a signal to the tailwind to render dark colors.
The next line in code says, remove the dark class if dark mode is off. This statement is used when dark mode is off, and we have to switch to light colors.
The array in useEffect is called dependency array, and it re-renders the component if there are any changes in the variable passed in the array. In our case, if there are any changes in the dark variable, we'll re-render the whole page.
<div className="flex flex-col justify-center items-center h-screen space-y-4 dark:bg-gray-700">
      <h1 className="text-5xl text-blue-700 dark:text-gray-100">
        Dark Mode in ReactJS Using TailwindCSS
      </h1>
      <button
        onClick={() => setDark(!dark)}
        className="p-3 bg-blue-700 rounded-full text-white shadow"
      >
        {dark ? (
          <svg
            class="w-6 h-6"
            fill="none"
            stroke="currentColor"
            viewBox="0 0 24 24"
            xmlns="http://www.w3.org/2000/svg"
          >
            <path
              stroke-linecap="round"
              stroke-linejoin="round"
              stroke-width="2"
              d="M12 3v1m0 16v1m9-9h-1M4 12H3m15.364 6.364l-.707-.707M6.343 6.343l-.707-.707m12.728 0l-.707.707M6.343 17.657l-.707.707M16 12a4 4 0 11-8 0 4 4 0 018 0z"
            ></path>
          </svg>
        ) : (
          <svg
            class="w-6 h-6"
            fill="none"
            stroke="currentColor"
            viewBox="0 0 24 24"
            xmlns="http://www.w3.org/2000/svg"
          >
            <path
              stroke-linecap="round"
              stroke-linejoin="round"
              stroke-width="2"
              d="M20.354 15.354A9 9 0 018.646 3.646 9.003 9.003 0 0012 21a9.003 9.003 0 008.354-5.646z"
            ></path>
          </svg>
        )}
      </button>
    </div>
The above JSX code is what shows the output on the website(The GIF on top of the page). onClick={() => setDark(!dark)} This event listener in button toggle the value of variable dark. As soon as the value of the variable changes, useEfffect re-render the whole thing because of dependency array and the class in root element added to dark or removed from the dark. This makes the whole toggle function working, and I got this output on the browser.

To conclude the blog, I want to say, implementation of the dark mode is really good to have on the website, Some research associates it with eye color and others with the attention span of users. So whatever your goal is, dark mode will be a good add-on to your website.
That's it for today. See you in the next blog 🌻

